Connect an AWS SDK or CLI
Issue Signature v4 credentials for a service account and point the official AWS CLI or an AWS SDK at Stegflow to drive your workflows.
Prerequisites
- A running Stegflow instance you can sign in to (see Getting started).
- A tenant (see Create a tenant).
- Permission to manage identity in that tenant. On the tenant resource you need
CreateUser(create the service account) andAttachPolicy(attach a policy), plusCreateAccessKeyon the service account itself. The built-in Administrators group grants these. - The AWS CLI v2, or any AWS SDK (for example
boto3).
Steps
1. Create a service account
An external client authenticates as a service account: a machine user that
holds the credentials requests are signed with. In Access Management, on the
Users tab, find the Service accounts section and create one, with a name
that reflects its use, for example ci-deployer or activity-worker.
Service accounts, not roles
Credentials always belong to a service account. A role is the identity a state machine runs as, and does not carry credentials.
2. Attach a policy to the service account
A service account carries no permissions on its own. Attach a policy that allows
the API actions your client calls, for example StartExecution,
DescribeExecution and ListStateMachines. Keep it to the least privilege it
needs.
3. Generate an access key
- Open the service account, in the Credentials area.
- Generate a new set of credentials by specifying a Description and an optional, but recommended, Expiration date, then click Generate.
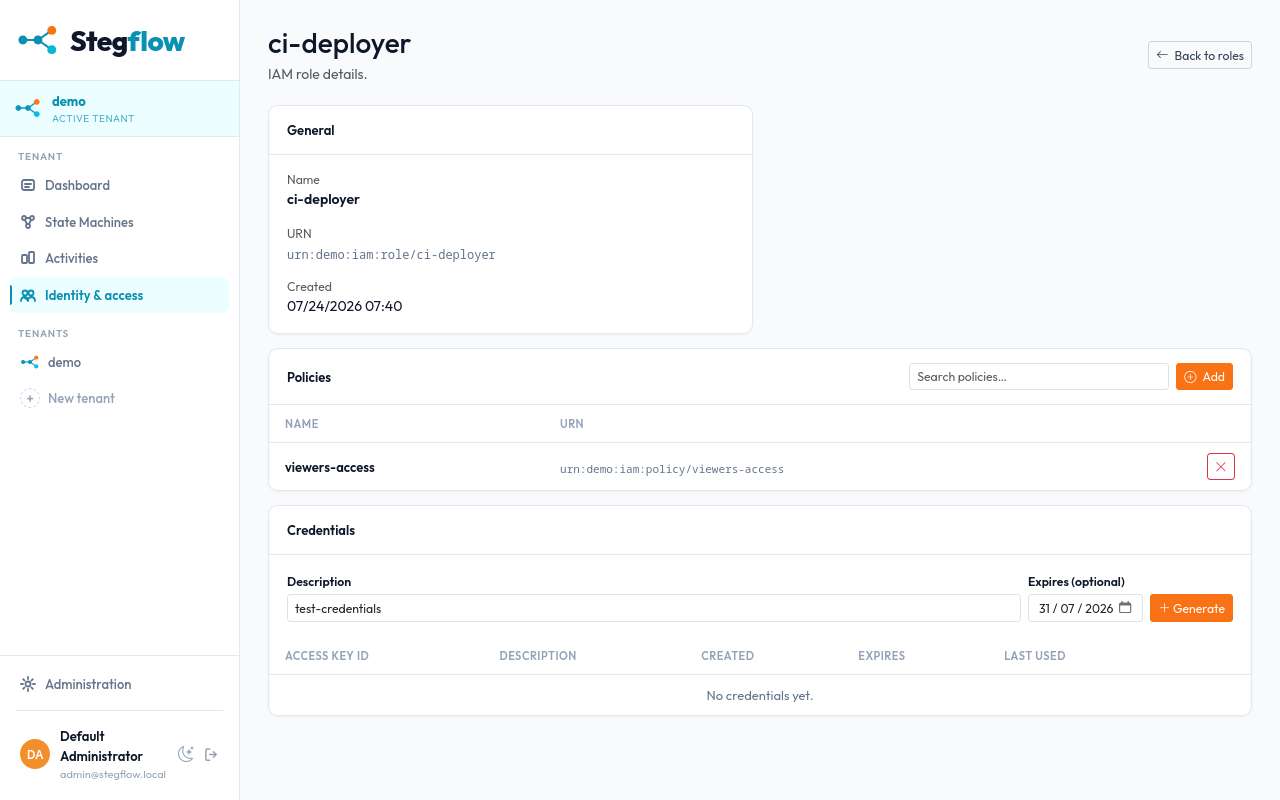
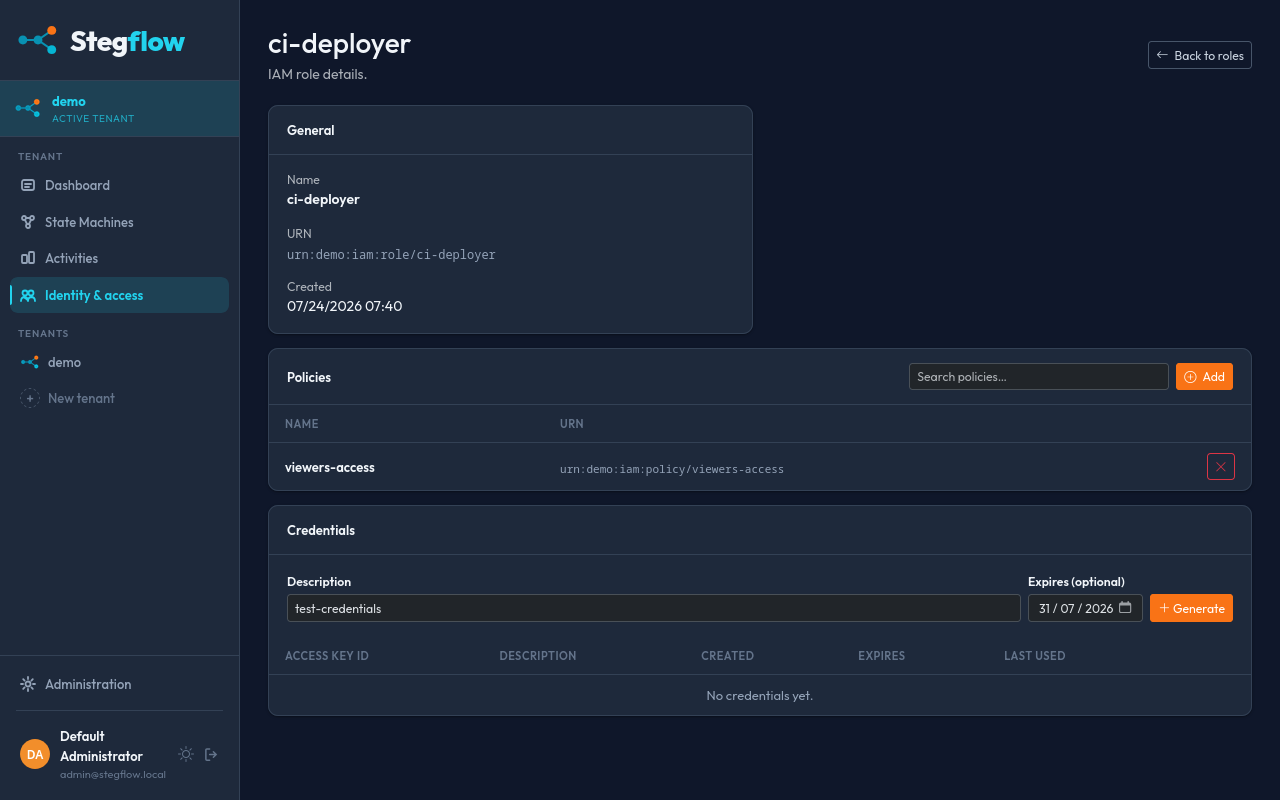
An Access Key ID and a Secret Access Key are generated.
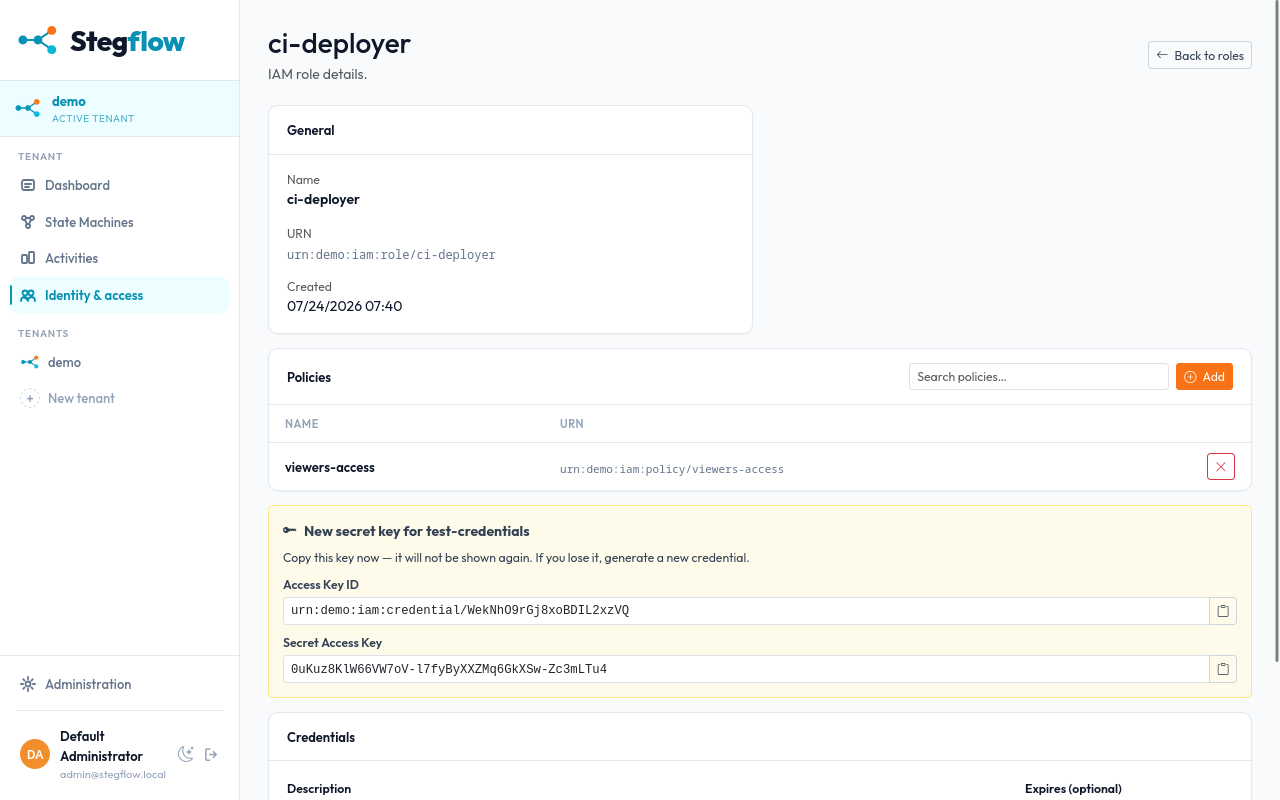
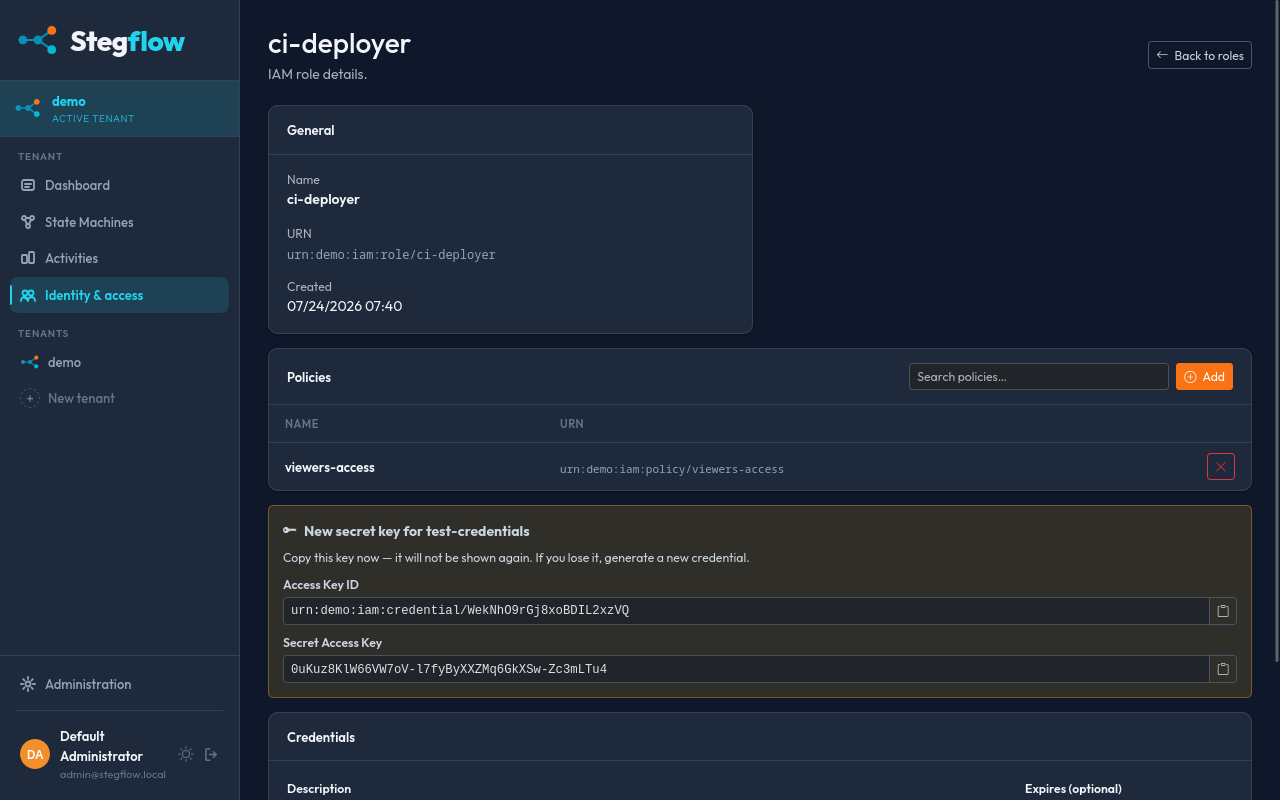
The secret is shown only once
Copy the secret access key when it is displayed and store it securely; it cannot be retrieved again. Set an expiry when you can, and delete keys you no longer use.
4. Configure the AWS client
Give the client the access key, the secret, a region and the Stegflow endpoint URL. Any region works: Stegflow does not validate it, but the AWS tooling requires one to be set. Use whichever method fits your setup.
Success
A JSON response with an executionArn means the client is authenticated and
your service account is allowed to start executions.
Result
Your AWS CLI or SDK now talks to Stegflow with scoped credentials. Reuse the same access key from activity workers or CI, and see AWS compatibility for the full list of supported actions.